
Taken the leap with DreamHost? We’re not surprised – DreamHost scores high on our list of best web hosts thanks to their easy to use interface and compatibility with WordPress.
Below are the steps you’ll want to take to sign up with DreamHost, connect up your domain, and get started using WordPress.
First – A Cheat Sheet To Connecting Up DreamHost
Getting off the ground with DreamHost takes only a few steps:
- Sign up for the hosting plan you want
- Sort out your domain (your site URL)
- Register and select any add-ons
- Make payment
- Get your confirmation email
- Log in and get started!
How To Get Started With DreamHost
If you’re a new customer, signing up with DreamHost is a cinch.
Here are the steps for getting started:
- Head to DreamHost and choose your hosting plan. DreamHost offers several ranging from Shared Hosting to VPS. If you’re still deciding – we’ve discussed them in-depth in our comparison of DreamHost plans.
- Select the length of time you’d like to purchase it for. Don’t worry if you’re not sure of this yet – you’ll be able to change this later in the sign-up process. Once you’ve selected the contract length, click the Sign Up Now button under the corresponding plan.

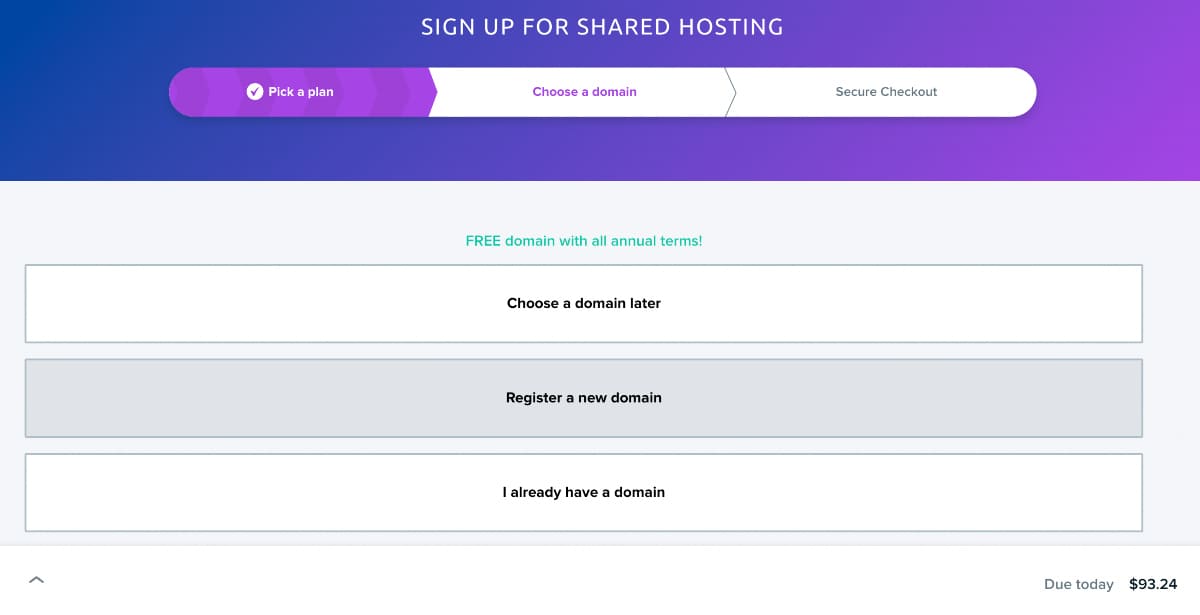
- After picking a plan, you’ll be taken to the sign-up page. You’ll then need to choose how you want to hook up your domain.
- Choose a domain later Skip the domain part for now and come back to it later once you’ve signed up.
- Register a new domain Register a new domain via DreamHost (free on annual plans). We’ve written more on this in the next section of this article.
- I already have a domain If you’ve already got a domain name elsewhere, you can select this. DreamHost will help guide you through transferring it later.
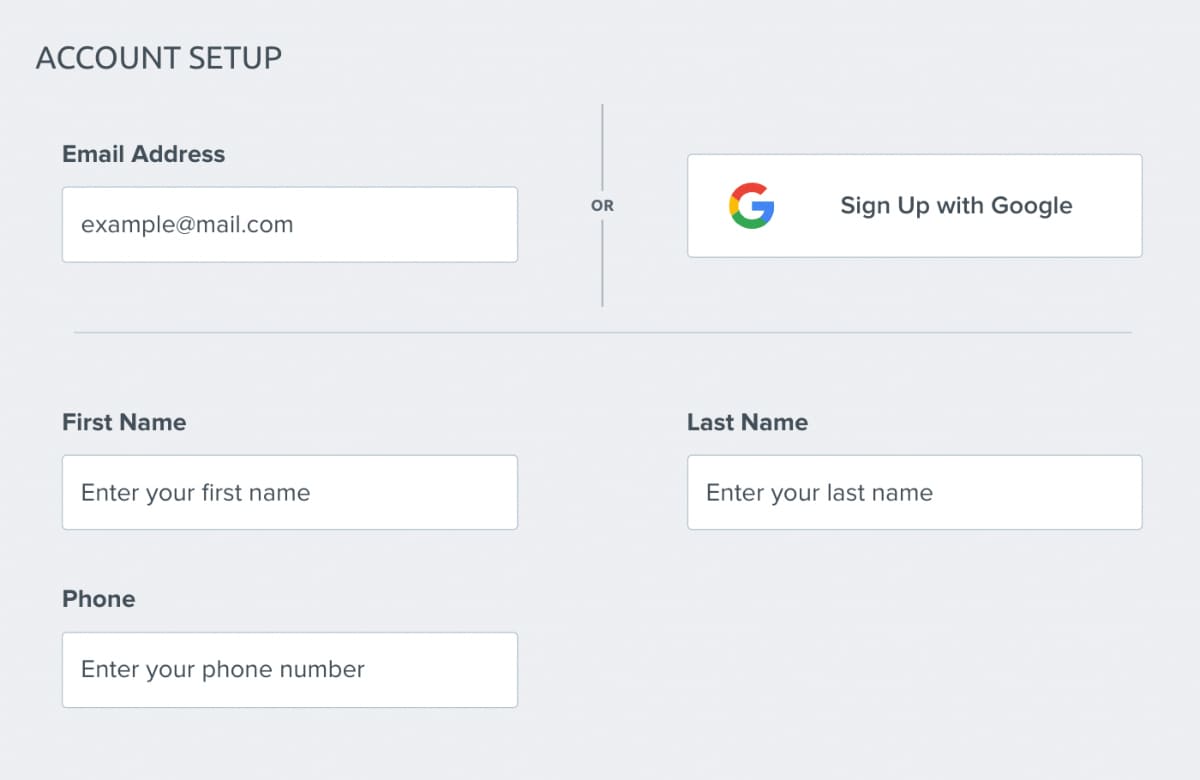
- At the Secure Checkout page, you’ll decide on your payment method and any desired add-ons. You can pay via credit or debit card, or PayPal.
You’ll also need to type in the email address you want to use to log into your DreamHost panel, or use your Google account.

- You’ll also be able to see the following add ons at the bottom:
 Make sure to double check what is ticked, so that you’re not paying for anything that you don’t actually want.
- DreamShield Protection – A site scanner for enhanced security.
- DreamHost SEO Toolkit – Helps with site SEO.
- DreamHost Email – Get dedicated email
- Google Workspace – Sign up for a free 30-day trial
- Once you’ve made payment, you’ll then receive an email confirming that your account is set up, and with the log-in details you’ll need to log into your DreamHost panel (https://panel.dreamhost.com/).

 You have three options here:
 Make sure to double check what is ticked, so that you’re not paying for anything that you don’t actually want.
Signing Up For A Domain Via DreamHost
If you’re starting from scratch, the easiest way to secure your domain is to get it directly from DreamHost.
All DreamHost customers who purchase a 1 year or 3 year annual plan (Shared Starter, Shared Unlimited, or any annual DreamPress plan) get a free credit to use for any of the following TLDs:
- .art
- .biz
- .blog
- .club
- .co
- .com
- .design
- .info
- .me
- .net
- .online
- .org
- .shop
- .site
- .store
- .tech
- .us
- .work
- .xyz
Another benefit of purchasing your domain registration at DreamHost is that the DNS is already configured correctly for you.
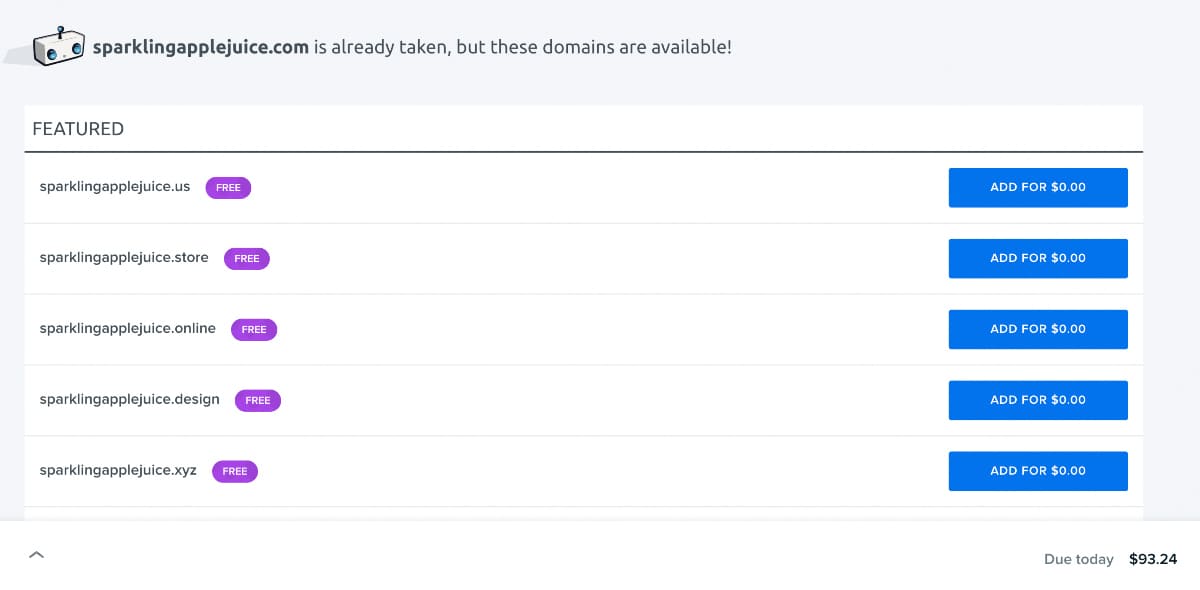
If you want to get your domain from DreamHost, make sure to click “Register a new domain” and type in your desired domain into the search bar. If you need some inspiration on URLs – check our guide on how to come up with a great domain name.
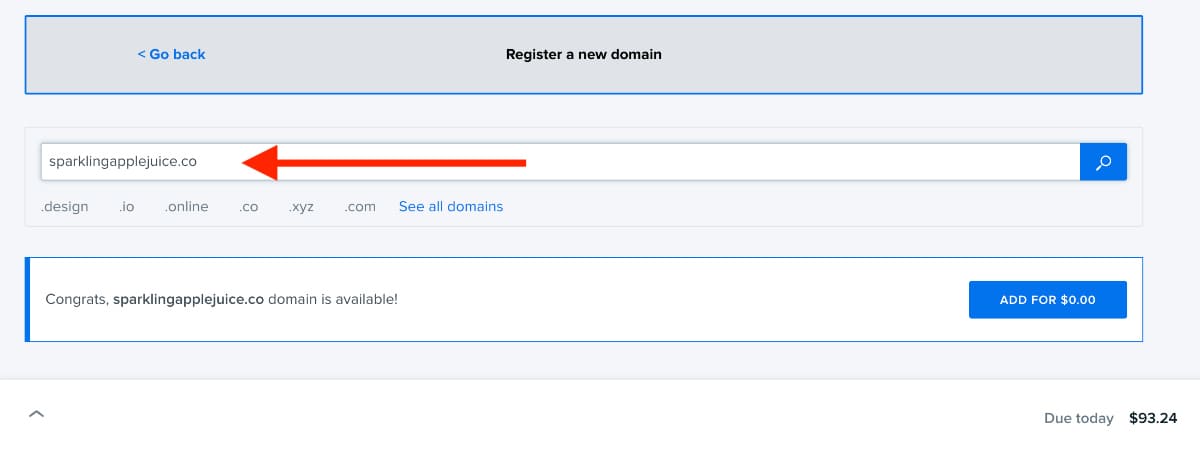
If your domain is available, you’ll be able to proceed to the next step by clicking the blue button “Add For $0.00”.
However, If your domain is already taken, you’ll be suggested similar domain names.
If you already have a domain
DreamHost isn’t the only place to get a domain – there are a lot of great domain registrars out there too.
If you’ve already got a domain you’d like to keep, you should select the option “I already have a domain”. Then, type in your domain URL.
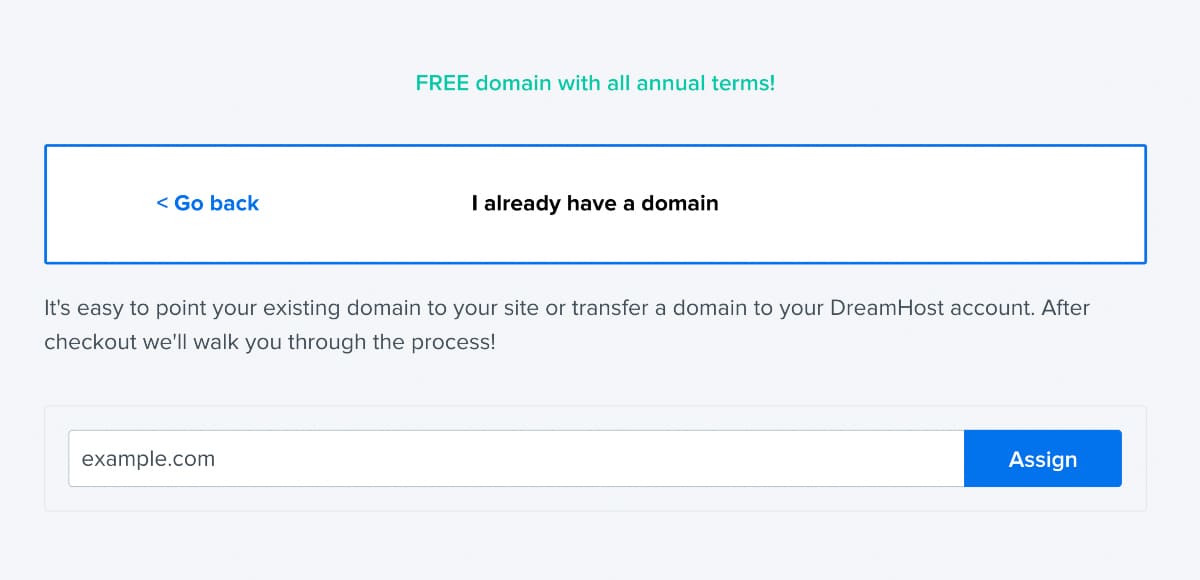
This will let you proceed with paying for your DreamHost hosting plan, but bear in mind you’ll need to do a few extra steps after checkout.
You’ll need to update your DNS settings at that company and point your DNS to DreamHost. Without this, your site won’t be able to go online.
For more details, check out DreamHost’s own guide on pointing DNS records.
How To Install WordPress To Your DreamHost Account
Many people flock to DreamHost due to how great they are with WordPress – the world’s leading content management system (CMS).
Whilst some hosts will require you to install WordPress manually, DreamHost makes it dead simple by installing it for you when they first set up your account.

This means that their team will look after the WordPress installation part for you, you can just sit back and chill. Once you’ve received the confirmation email after signing up for DreamHost, you can log into your WordPress panel at example.com/wp-login.php (replace ‘example.com’ with your website’s own URL).
If, for some reason, you find yourself needing to delete and reinstall WordPress manually in future – the process can all be done by logging into your DreamHost control panel and finding WordPress on the One-Click Install’s page.
Follow through the instructions and you should then receive an email telling you how to complete the installation process.
Final Tips For Starting With DreamHost
You’re now all set up with WordPress, and ready to kick butt with your brand new DreamHost-hosted website. Don’t forget the other important areas of setting up, such as installing an SSL certificate via DreamHost’s control panel.
Finally – if you have any further questions or queries, DreamHost’s customer support is very helpful – we’ve written more about them and their various support methods here.
Happy hosting!